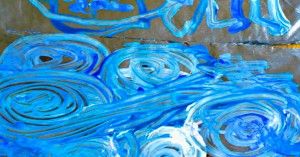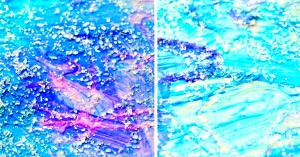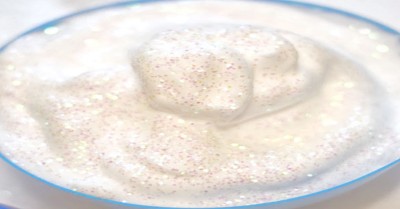
Icy cold snow paint: a fun, sensory winter art activity that builds creativity, fine motor skills, and sparks festive learning for children.
Materials Needed
- Shaving Cream
- White school glue
- Peppermint extract
- Glitter (optional)
What to do:
- Put the glue into the refrigerator (can be left overnight).
- Leave glue out of the refrigerator for 10 minutes before using.
- Mix equal amounts of chilled glue and shaving cream in a bowl.
- Sprinkle glitter (optional).
- Add peppermint extract (optional).
- Add to bowls and use a paintbrush to paint with.
- Dry paintings overnight.
Hints and Tips
- Can also be used for a sensory experience
Extension Ideas
- Frozen textures: Chill the paint further and let children feel the icy sensation before painting.
- Glitter snowflakes: Use stencils to create sparkly snowflake patterns.
- Peppermint scent play: Encourage children to describe the smell while painting, linking sensory language to art.
- Melting experiment: Compare how the paint dries in warm vs. cool areas.
- Absorption test: Paint on different surfaces (cardboard, paper, fabric) and observe results.
- Pattern systems: Introduce repeating snowflake or icicle motifs to connect with Outcome 5.4.
- Winter storytelling: Children narrate what their snowy scene represents (forest, mountain, window frost).
- Descriptive vocabulary: Introduce words like “fluffy,” “icy,” “sparkly,” “cold.”
- Shared reflection: Display artworks in a “snow gallery” and invite children to explain their choices.
- Collaborative mural: Create a large winter scene together using snow paint.
- Confidence building: Celebrate unique designs with positive feedback.
- Cultural connections: Link snowy art to winter festivals or seasonal traditions around the world.
Reference
Shivery Snow Paint, Growing A Jewelled Rose