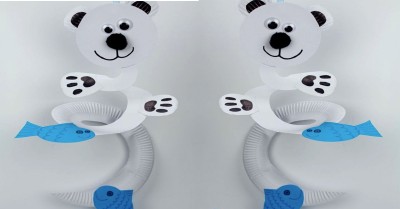
An easy winter craft by creating a paper plate polar bear. Watch polar bear spin around and round as you hold it in your hand or give it a gentle blow.
Materials Needed:
- 2 Paper Plates
- Wiggle Eyes
- Small Black Pom Pom
- Blue Paper
- Blue Marker Pen
- Black Marker Pen
- Scissors
- Ribbon
- Glue
- Sticky Tape
What to do:
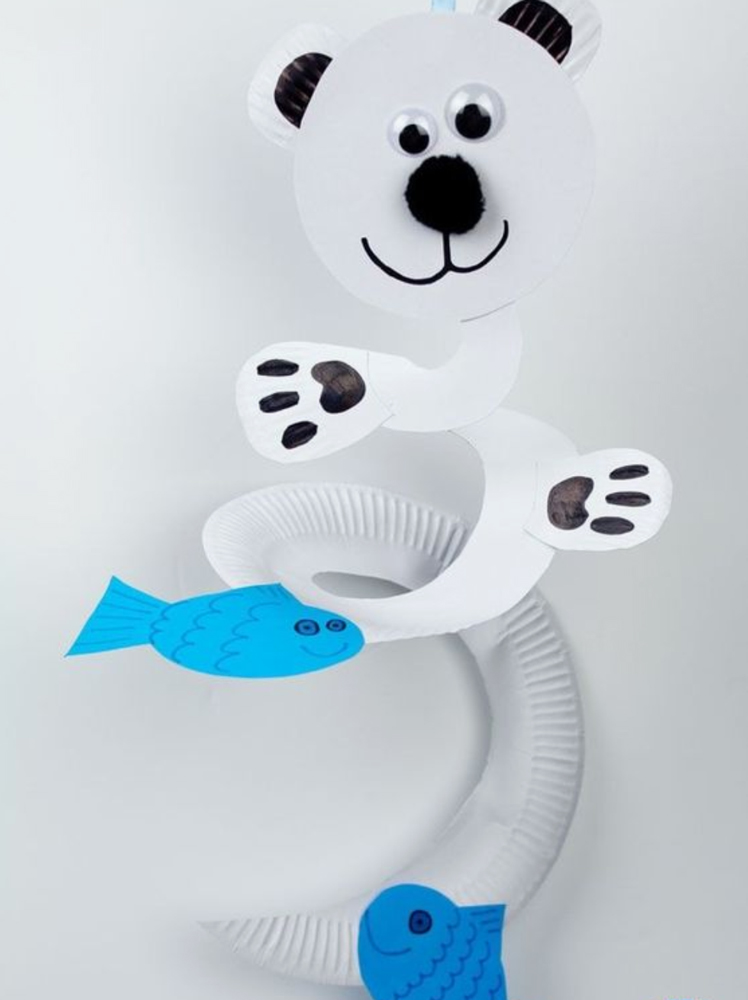
- Starting from the outside of your paper plate cut a spiral towards the middle. You might want to draw a pencil line first for children to follow.
- Cut the middle out of your second paper plate to make the head for your polar bear twirler.
- Use the rim of the paper plate to cut out two bear ears.
- Colour the middle of the polar bear ears black and glue them onto the back of the head.
- Glue on your wiggle eyes, black pom pom nose and draw on a happy smile.
- Use some more pieces of the second paper plate’s rim to cut two polar bear paws and colour the pads in black.
- Glue the paws onto the spiral of the polar bear twirler.
- Cut two or more fish shapes from your blue paper and decorate them with marker pens.
- Glue the fish onto the outer spiral of the paper plate twirler.
- Turn your paper plate twirler over and glue or tape some ribbon onto the back of the polar bear’s head.
- Hold the ribbon and blow the polar bear and it will begin to twirl around.
Hints and Tips:
- Hang them from the ceiling.
- Draw the polar bear face for the children to decorate.
- Have pieces pre-made/pre-cut for younger children.
Reference:
Paper Plate Polar Bear Twirler, KidsCraftRoom


