Outdoor sandpit setups in early childhood are best designed as open-ended, sensory-rich environments that encourage creativity, social interaction, and physical development. The most effective setups combine natural materials, loose parts, and flexible structures to allow children to dig, build, and imagine freely.
Key Elements of Outdoor Sand Play
-
Sandpit Design
- Traditional pits: Framed wooden or stone borders filled with clean play sand.
- Portable trays/tubs: Ideal for smaller services or flexible use.
- Natural integration: Sand areas blended into garden beds or shaded zones.
-
Loose Parts & Tools
- Buckets, spades, sifters, funnels, pipes, and scoops.
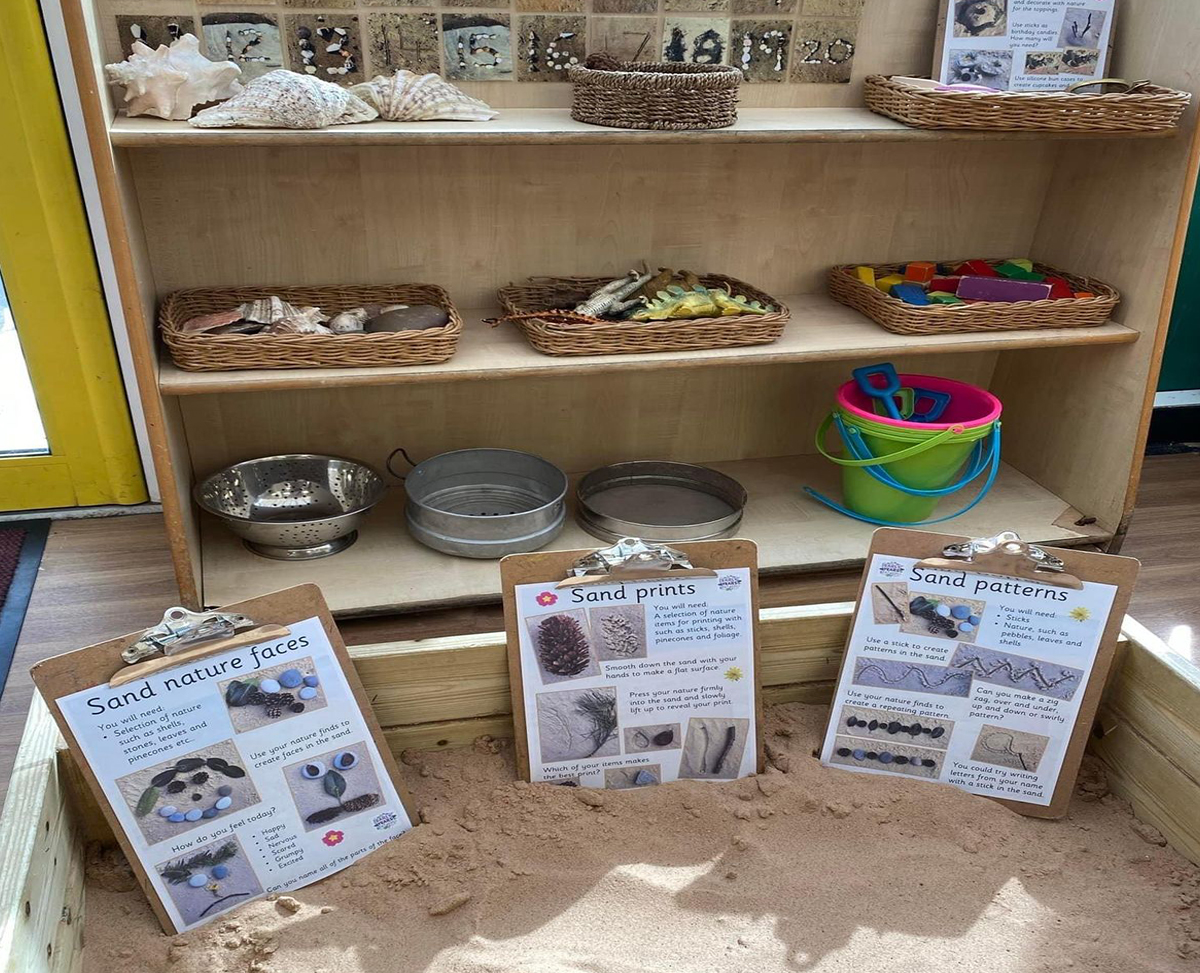
- Natural items: sticks, shells, pebbles, and seed pods.
- Recycled containers: pots, pans, and jars for imaginative play.
-
Water Integration
- Simple hose or water trough nearby for mixing sand and creating textures.
- Channels or gutters for experimenting with flow and erosion.
Benefits of Sand Play
| Development Area | How Sand Play Helps |
|---|---|
| Physical | Strengthens fine motor skills (digging, pouring), gross motor (lifting, carrying). |
| Cognitive | Supports problem-solving, experimentation with cause/effect, early STEM concepts. |
| Social/Emotional | Encourages cooperation, role play, and emotional regulation through sensory input. |
| Creative | Open-ended play fosters imagination, storytelling, and artistic expression. |
Inspiring Setup Ideas
- Sand + Water Engineering Station: Gutters, pipes, and funnels for building waterways.
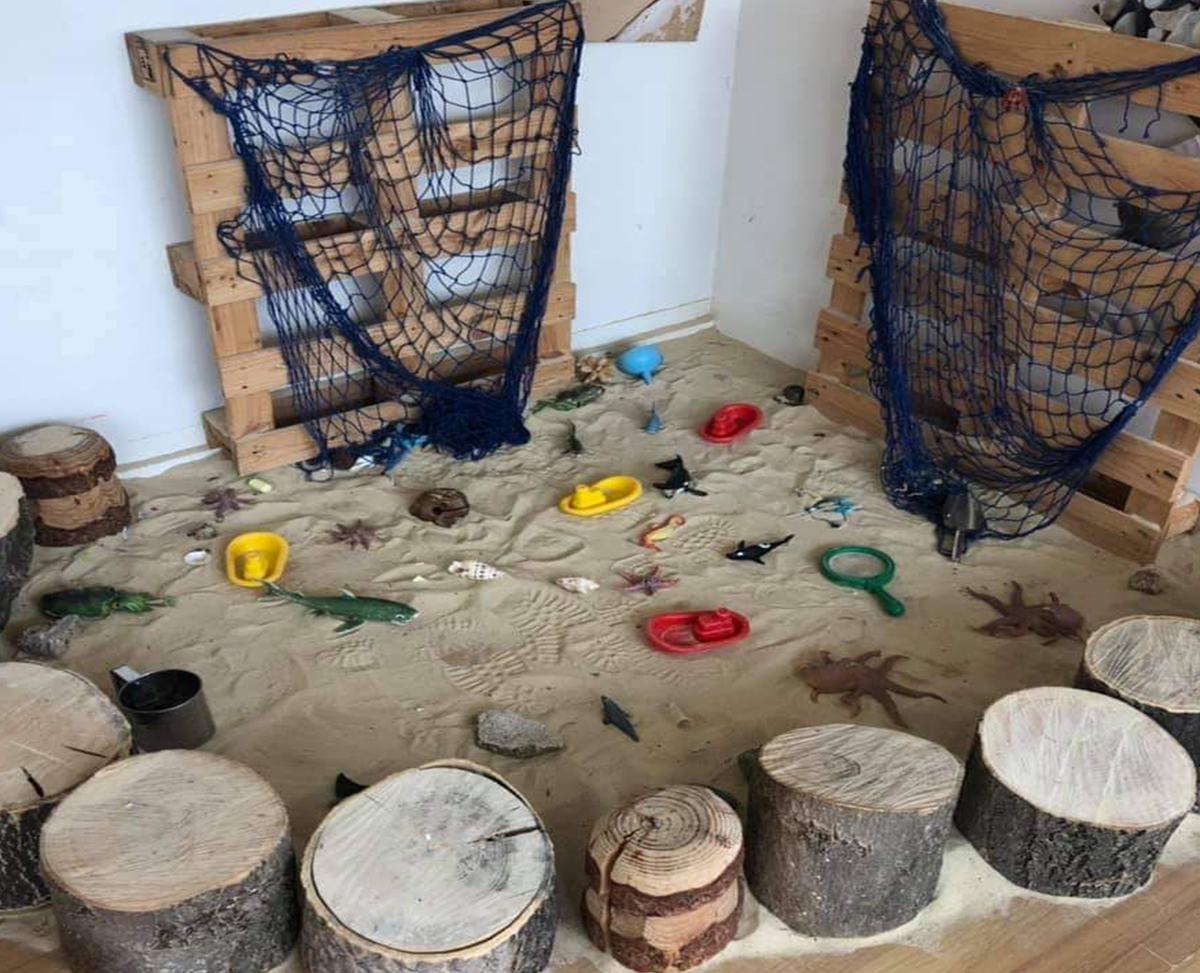
- Nature Sandpit: Logs, plants, and stones surrounding the pit to blend with outdoor environment.
- Role Play Corner: Mud kitchen beside sandpit for “baking” sand cakes and imaginative cooking.
- Construction Zone: Sand combined with large blocks, crates, and planks for collaborative building.
- Sensory Pathways: Sand integrated into multi-texture paths (sand, pebbles, bark) for barefoot exploration.
Photo Ideas


Practical Tips for Educators
- Safety & Hygiene: Use clean, non-toxic sand; cover pits when not in use; refresh sand regularly.
- Shade & Comfort: Position sand areas under trees, shade sails, or pergolas to protect children from sun exposure.
- Rotation & Renewal: Introduce new tools or natural materials weekly to keep play fresh.
- Inclusive Design: Ensure accessibility for children with mobility challenges (low entry points, wide borders).
Further Reading
Benefits Of Sand and Water Play
Kinetic Sand
Image References:
Image 1 - Sophie Brigden
Image 2 - Laura Keil
Image 3 - Diane Morton
Image 4 - Vanessa McVeigh
Image 5 - Betty M.
Image 6 - Juliet Robertson—CreativeSTAR Learning
Image 7 - No name
Image 8 - Rose McInnes
Image 9 - Emma Garcia
Image 10 - Sammy Cityfan
Image 11 - Vicki Barker


 The Children’s Services Award introduces a streamlined classification system and updated pay rates designed to better recognise the skills, qualifications, and responsibilities of early childhood
 The Children’s Services Award has 8 clear levels. These levels make it easier to understand where you fit, based on your experience, qualifications, and responsibilities.
 When working as a qualified early childhood teacher (with a university degree) within a service, your rate of pay will come from the Educational Services
 Diploma-qualified educators play a vital role in early childhood services, taking on responsibilities that range from supporting children’s learning and development to leading rooms and
 Certificate III qualified educators form the backbone of early childhood services, providing essential care and learning support for children across all settings. Their wages under
 Early Childhood Teachers (ECTs) play a vital role in leading curriculum and pedagogy in early learning settings. Regulation 272 of the Education and Care Services
 Children need safe and positive environments to learn and grow. To ensure this, services and educators need to ensure effective supervision at all times. The
 Floorbook is a documentation approach that uses a large book with blank pages for children to record different aspects of their learning in small groups
 Educators can maximise tax deductions by claiming classroom supplies, training, union fees, and home office costs this financial year.
 In Norway and most other Scandinavian countries, children nap in the outdoors. According, to research outdoor sleeping not only promotes better daytime sleeping, but it