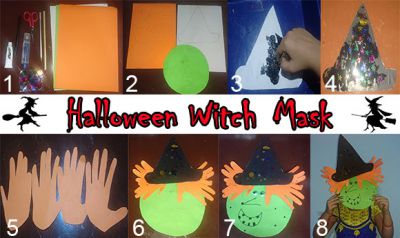
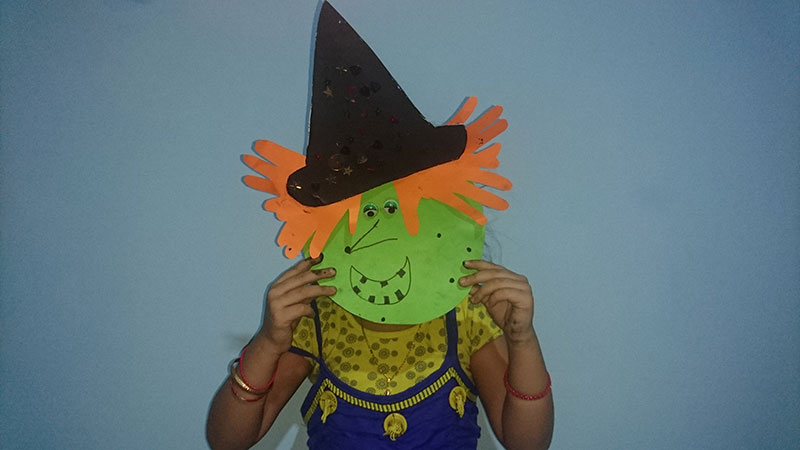
Create this simple witch mask which can be used for Halloween.
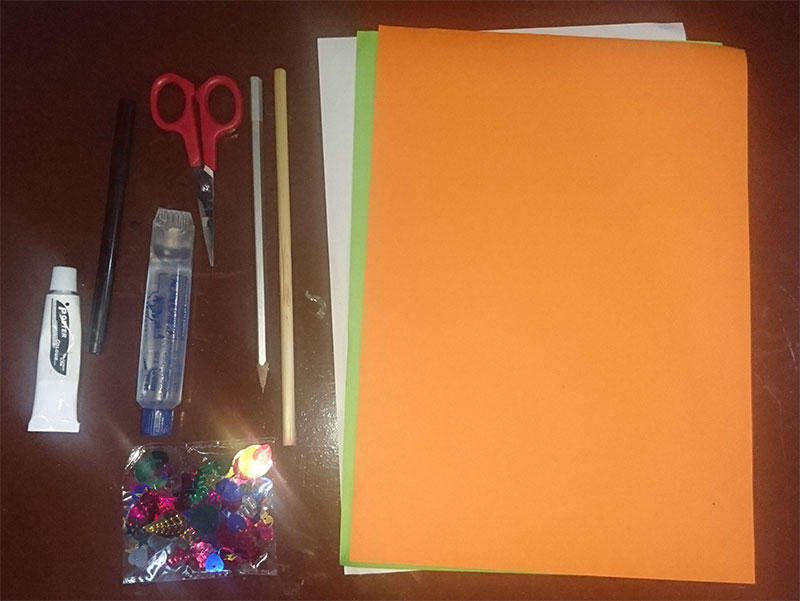
Materials Needed:
- coloured paper (orange, green, white)
- black paint
- glue
- marker
- scissors
- thick cardboard
- decorative materials (glitter, sequins, stickers etc.).
What to Do:
- Gather all the materials required.
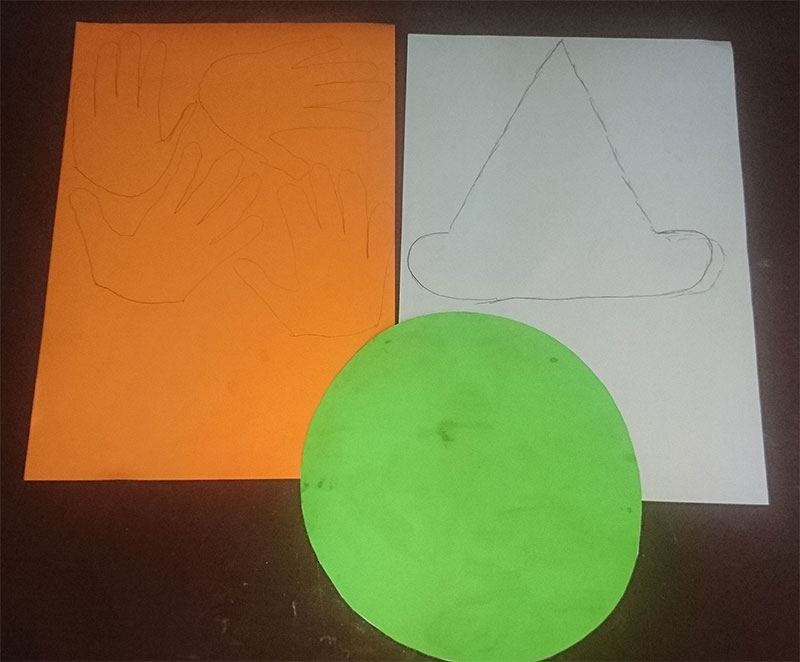
- On the green paper cut out a circle and stick this onto thick cardboard to make it sturdy, on the white paper draw a witch’s hat and on the orange paper trace the child’s hands.
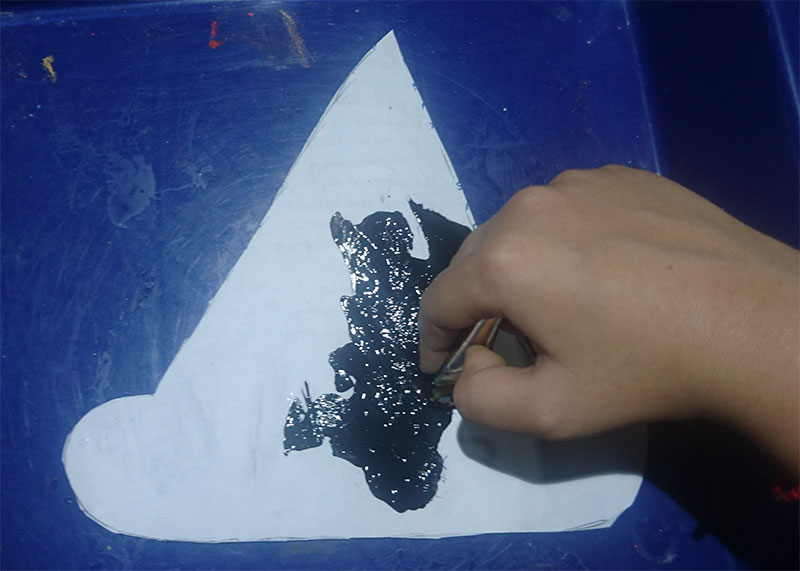
- Cut out the witch’s hat and paint it black.
- As the paint dries, decorate the witch’s hat with sequins, glitter or stickers.
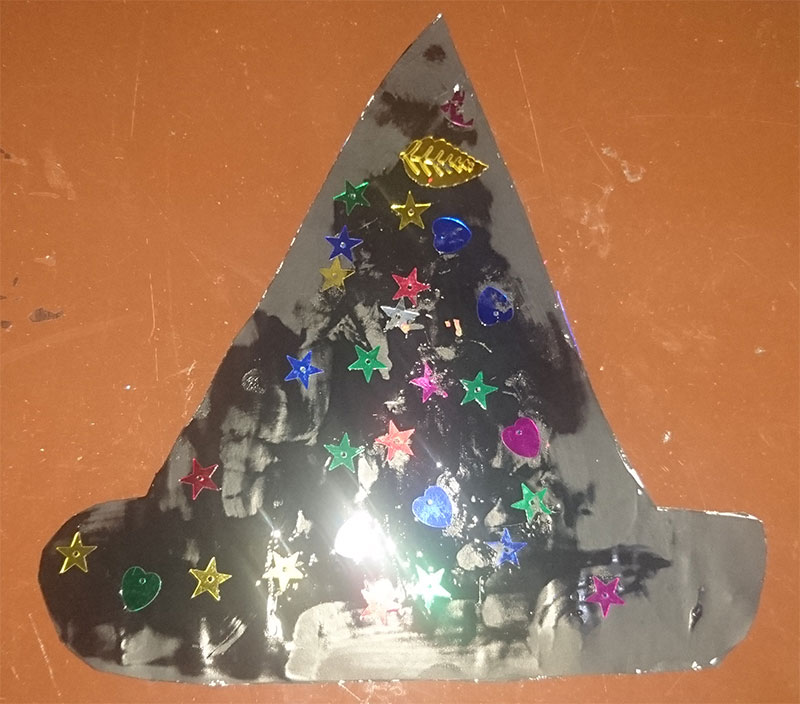
- Cut the child’s hands out from the orange paper.
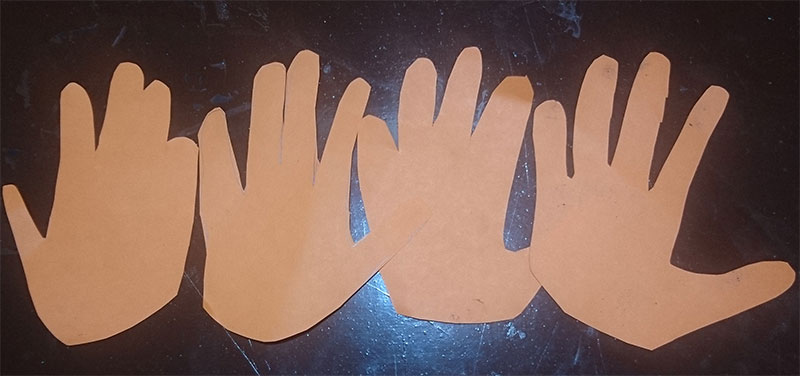
- Put together the witch’s face. The green circle as the face, arrange the child’s hands as hair around the witches face, glue this down and on top of the “hair” glue the witch’s hat.
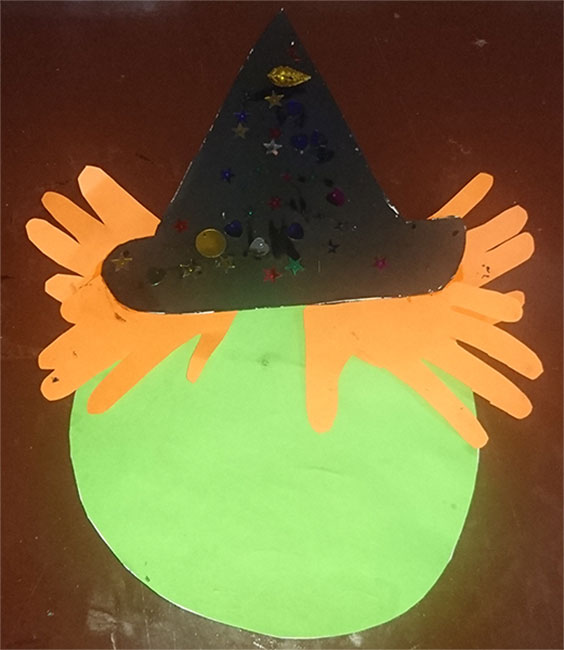
- Using a black marker, draw the facial features of the witch, including a long pointy noise and pimples.
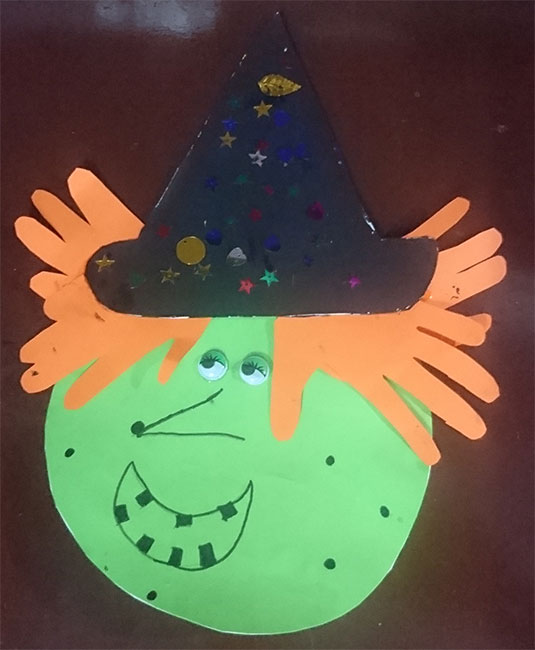
- The witch mask in now ready!
Hints and Tips:
- Use a paddle pop stick, stick it to the back of the mask so the child could hold it to their face.
- Cut out circles for the child’s eyes, add two holes on with side to tie elastic for the child to wear their mask.
- Use black paper for the hat, rather than painting white paper black.
- Use a paper plate for the face, let the child paint the face green.


