Most of our Premium and Free Templates are available in MS Word version. This is a tutorial on how to use our templates in MS Word.
- Download the MS Word version of the Template.
- Open it in MS Word.
- In the boxes where text is required, insert a text box. To do this go to Insert - Shapes - Choose Text Box. Outline the box. Text can now be added.
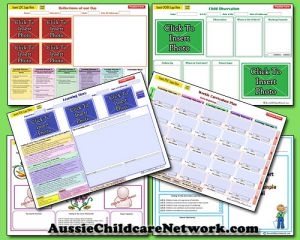
- To add images to the Template, go to Insert - Shapes - choose Rectangle. Outline the box where the image is to be added. When adding this it will be blue.
- Right-click on the blue box. select Format Shape - select Fill - select Picture/Texture fill - select Insert Picture From File - select Picture from your computer. It will now be inserted into the Image box.
Please note:
- If the Text Box goes outside the Template, you must change the layout option and select "With Text Wrapping Through". Lines will also appear around the text box shape, to hide this, go to FORMAT - Shape Outline - No outline.
- Once again, like the Text Box if the box goes outside of the Template, you will need to change the layout option and select "With Text Wrapping Through".
- Once the image is inserted, you can rotate it using the rotate button just above the inserted image. You can also remove the border around the picture by going to Picture Tools Format - Picture Border - No Outline.
Using our Templates in MS Word is an efficient way to complete documentation. It's also available for FREE for everyone with access to a computer. It is user-friendly, provides formatting options and enables you to edit the Template as per your service requirements.


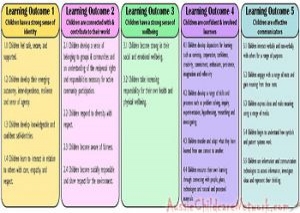
 Here is the list of the EYLF Learning Outcomes that you can use as a guide or reference for your documentation and planning. The EYLF
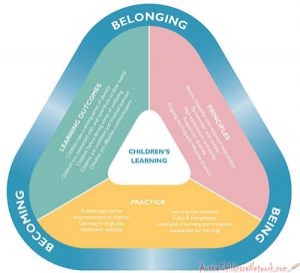
 The EYLF is a guide which consists of Principles, Practices and 5 main Learning Outcomes along with each of their sub outcomes, based on identity,
 This is a guide on How to Write a Learning Story. It provides information on What Is A Learning Story, Writing A Learning Story, Sample
 One of the most important types of documentation methods that educators needs to be familiar with are “observations”. Observations are crucial for all early childhood
 To support children achieve learning outcomes from the EYLF Framework, the following list gives educators examples of how to promote children's learning in each individual
 Reflective practice is learning from everyday situations and issues and concerns that arise which form part of our daily routine while working in an early
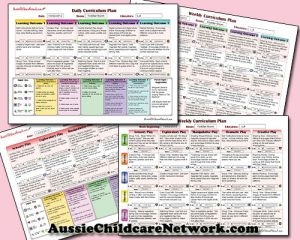
 Within Australia, Programming and Planning is reflected and supported by the Early Years Learning Framework. Educators within early childhood settings, use the EYLF to guide
 When observing children, it's important that we use a range of different observation methods from running records, learning stories to photographs and work samples. Using
 This is a guide for educators on what to observe under each sub learning outcome from the EYLF Framework, when a child is engaged in
 The Early Years Learning Framework describes the curriculum as “all the interactions, experiences, activities, routines and events, planned and unplanned, that occur in an environment


